Showing posts with label Nature. Show all posts

Saturday, July 7, 2012

Mini Lightning Bug Jars


Outside Summer Fun
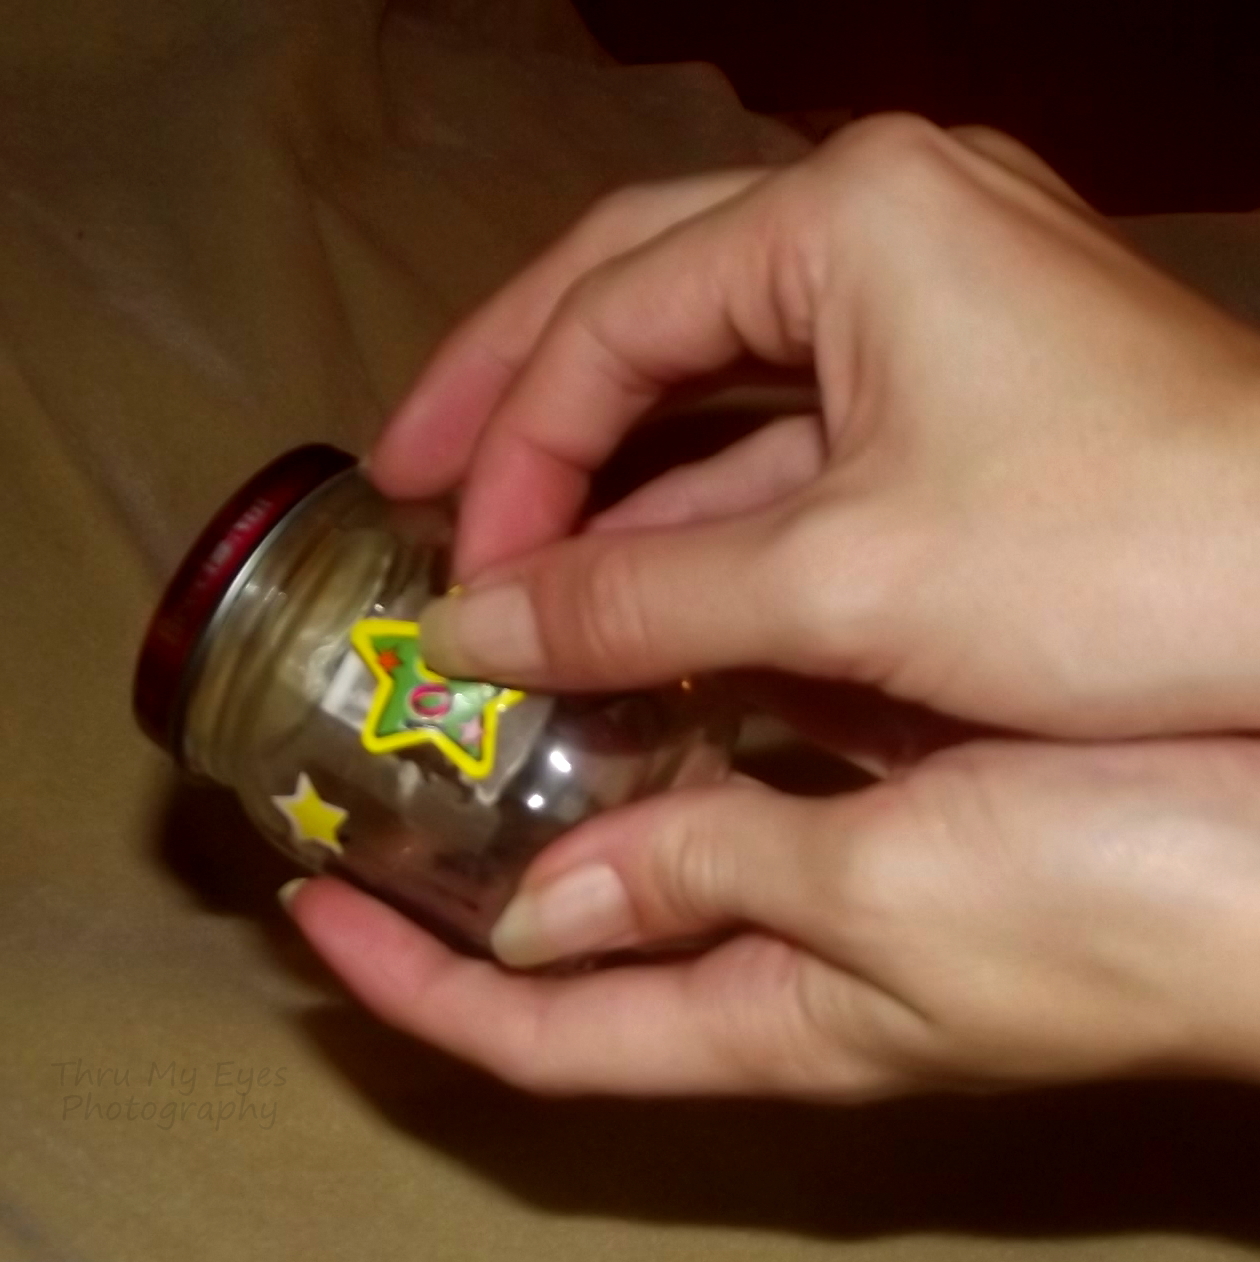
Whats more fun than running around outside on a summer night chasing lightning bugs?? Catching them and putting them in jars for safe keeping! Most of the time you would use one of the gallon mason jars... I have a new idea for you. How about Mini Lightning Bug Jars? Easy to hold in small hands and not likely to be dropped when running thru the yard. You can make them with as little as 2 to 4 (depending on if you want to decorate your jar or leave it clear) things that could be laying around your house right now!!! These can be made by the child, with your help with the knife, or you can make them for your kids yourself. The choice is yours!!!!!!


All you need is :
  • Baby Food Jars
  • Knife (Adult help/supervision is needed for putting the holes in the lid with knife.)
  • Permanent Markers *I used black and orange for stars and fireflies*(optional)
  • Stickers (optional)
Instructions :

Step 1 -->  Make sure the jars are clean and dry.

Step 2 -->  Get an adult to poke holes in the top of the lid so the lightening bugs can breath.
 
**If you would like then your jar is finished. Or you can go on to Step 3**  


Step 3 -->  Write your name on your jar if you would like and decorate with stickers or draw fireflies with black and orange markers.


**Our Finished Lightning Bug Jars!!!!**

Wednesday, April 25, 2012

Bug Hotel

Bug Hotel

This simple, yet sturdy, insect observatory lets young entomologists check in guests, then check 'em out.

Materials
    Bug Hotel
  • Oatmeal container
  • Markers
  • Poster paints and brushes
  • Utility knife
  • Screen


Instructions
  1. Use markers or poster paint to decorate the outside of the oatmeal container, making sure you post the house rules!
  2. Paint or draw the shutters, then use a craft knife (adults only) to cut them out with sideways H shapes.
  3. Paint the door, then cut it out, making sure its bottom edge is at least 1/4 inch above the floor inside (to keep guests from checking out too early).
  4. Roll the screening so it rests snugly around the inside of the container. Trim so the top edge fits beneath the lid and leave a 1-inch overlap where the side edges meet.

Tips:
Be sure to provide guests with food (notice what they were eating when you found them) and water (a filled plastic bottle cap should meet their needs).

Mother's Day Flower Pot Craft

Mother's Day Flower Pot Craft


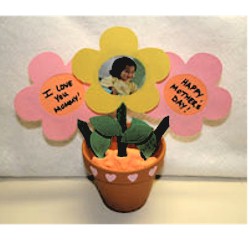
This fun craft is a great Mother's Day gift for Mom! She is sure to love this personalized flower pot with her favorite family pictures in it. Pick your favorite pictures for some of the flowers and write your own special message on the other flowers.


Supplies
3" Clay Pot
Clay
Colored Popsicle Sticks
Flower Template (click here)
Construction Paper (many colors)
Scissors
Glue
Scotch Tape
Pictures
Paint, Markers, Crayons, etc.


Click here for printables, patterns and Templates

InstructionsDecorate your clay pot however you would like! Put it aside to dry.

Print out the flower template provided above.

Cut out the template flowers, trace them onto construction paper and cut out the construction paper flowers.
Cut the center circle out of the template flower. Place onto construction paper flowers and trace around it. Carefully cut out the center circle in each of the construction paper flowers.

Tape pictures or sayings on the back of each flower so that they are visible through the hole.

Tape a popsicle stick to the bottom of each flower as the stem.

Cut leaves out of green construction paper and glue to each popsicle stick.
Fill the clay pot with clay. Stick the popsicle sticks into the clay to complete the craft!
This craft is reprinted courtesy of  freekidscrafts.com and AllKidsNetwork.com.

Spring Lacing Projects from DLTK-kids

Spring Lacing Projects

Lacing projects are a great craft for preschoolers and kindergarten children to complete during any holiday. The lacing gives them fine motor skill practice and practice tying knots and bows (shoelaces!) The large blank area in the center gives the kids the chance to 'get creative' by further decorating with paper cutouts, stickers or crayons.
There are a few different templates to choose from.

Materials:

  • Wool or ribbon
  • single hole punch
  • scissors
  • pencil
  • card stock, poster board or construction paper

Directions:

  • ADULT: print template of choice or make your own.
  • ADULT: Trace onto a thick piece of cardboard (cardboard backs from paper pads or old boxes work well).
  • ADULT: Cut out this template
  • Allow the children to trace the template onto a piece of card stock or poster board (or construction paper... though I prefer the thicker card stock for lacing projects).
    OR have an adult do this prior to craft time.
  • Allow the children to cut out their card stock shapes
    OR have an adult do this prior to craft time.
  • Allow the children to make holes around their shape (about an inch or two apart)
    OR have an adult do this prior to craft time.
  • Provide the children with a length of wool or ribbon.
    • You can wrap some scotch tape around the end of the wool to make it more like a shoe lace.
    • Have the child thread the wool through the holes.
    • children can use different 'stitches' to complete their lacing project (simple running stitch, X stitch, blanket stitch, etc). If you want to 'inspire' the kids, provide a number of examples for them and have them up at the front of the room.
  • Practice tying knots and/or bows to connect additional pieces of wool or to tie off at the end of the lacing.
  • Let the children use stickers, stamps, die cuts, or markers and their imagination to decorate their completed project.
  • ALTERNATIVE: instead of lacing just one shape, lace together two shapes. Leave the top open and you'll be able to stick things inside when you're done!

  • Close the template window after printing to return to this screen.
  • Set page margins to zero if you have trouble fitting the template on one page (FILE, PAGE SETUP or FILE, PRINTER SETUP in most browsers).

Specific Instructions PLUS Templates:


Cloud: lace with a running stitch or a blanket stitch around the edge of the cloud - silver or grey is a good color (every cloud has a silver lining), but white or blue would work nicely too. You can tie a bow anywhere on the cloud and draw a face on the cloud if you like.

Cloud Template


Flower: lace with a running stitch in a circle around the center of the flower. Tie a bow at the bottom. Green wool or ribbon would be nice. You can color the outside of the flower and draw a face in the middle if you like. You could also lace around the outside of the flower instead of or as well as the center, using any color you like (red, blue, pink, purple, etc). A blanket stitch would be nice for this..

Flower Template


Rainbow: lace with a running stitch in a different color along each arch of the rainbow.

Rainbow Template

lacing projects

Raindrop: lace with a running stitch around the raindrop. Tie a bow at the bottom or top. Blue wool or ribbon would be nice.

Raindrop Template


Crafts found at www.dltk-kids.com

Friday, April 13, 2012

How to Make Moss Graffiti


Moss Graffiti

Make Moss Graffiti

Moss graffiti, also called eco-graffiti or green graffiti, replaces spray paint, paint-markers or other such toxic chemicals and paints with a paintbrush and a moss "paint" that can grow on its own. As people become more eco-friendly and environmentally aware, the idea of making living, breathing graffiti has become a more green and creative outlet for graffiti artists

 Ingredients

  • One or two clumps (about a small handful) of moss
  • 2 cups of buttermilk
    •  You can also substitute with yogurt (vegan yogurt can be used)
  • 2 cups of water (or beer)
  • 1/2 tsp. sugar
  • Corn syrup (optional)
 Steps
  1. Gather up as much moss as you can find or buy.
  2. Wash the moss to get as much soil out of the roots as possible.
  3. Break the moss apart into manageable pieces and place in blender.
    Break the moss apart into manageable pieces and place in blender.
    Break the moss apart into manageable pieces and place in blender.
  4. Add the buttermilk/yogurt, water/beer and sugar.
    Add the buttermilk/yogurt, water/beer and sugar.
    Add the buttermilk/yogurt, water/beer and sugar. Blend the mixture until completely smooth. You'll want it to have a paint-like texture.

    • If the mixture is at a consistency where you feel it will drip, add corn syrup until the consistency you desire is reached.
      If the mixture is at a consistency where you feel it will drip, add corn syrup until the consistency you desire is reached.
      If the mixture is at a consistency where you feel it will drip, add corn syrup until the consistency you desire is reached.
  5. Use a paintbrush to apply the moss-paint to the surface on which you wish your design to grow.
  6. If possible, check back weekly to either spray the design with water (to encourage moss growth, especially if you live in a dry environment) or apply more moss-paint.
    If possible, check back weekly to either spray the design with water (to encourage moss growth, especially if you live in a dry environment) or apply more moss-paint

Things You'll Need
  • A paint brush
  • A blender

Tips

  • Moss can also be used as a decorative element indoors.
  • Apply your paint in a moist area that receives a moderate amount of sunlight.
  • Moss grows best on porous surfaces such as bricks or other stones.
  • The best times to plant your graffiti are in the spring or fall, and keeping the moss moist will encourage its growth.
  • If for any reason you wish to get rid of the design or parts of the design, spray it with lime juice as this will kill the moss.


Warnings

  • Graffiti art, unless done with a public art permit, is probably not legal in your area. This article does not endorse illegal art, but does suggest that the graffiti can be done in or around your home or with a permit.
  • If you're doing this because it's the green thing to do, be careful of how you obtain your moss. Please do NOT gather it from public areas. You can buy it from nurseries or online sources who grow it commercially. Not exactly anti-establishment but the right thing to do.