Showing posts with label Spring. Show all posts

Saturday, July 7, 2012

Mini Lightning Bug Jars


Outside Summer Fun
Whats more fun than running around outside on a summer night chasing lightning bugs?? Catching them and putting them in jars for safe keeping! Most of the time you would use one of the gallon mason jars... I have a new idea for you. How about Mini Lightning Bug Jars? Easy to hold in small hands and not likely to be dropped when running thru the yard. You can make them with as little as 2 to 4 (depending on if you want to decorate your jar or leave it clear) things that could be laying around your house right now!!! These can be made by the child, with your help with the knife, or you can make them for your kids yourself. The choice is yours!!!!!!


All you need is :
  • Baby Food Jars
  • Knife (Adult help/supervision is needed for putting the holes in the lid with knife.)
  • Permanent Markers *I used black and orange for stars and fireflies*(optional)
  • Stickers (optional)
Instructions :

Step 1 -->  Make sure the jars are clean and dry.

Step 2 -->  Get an adult to poke holes in the top of the lid so the lightening bugs can breath.
 
**If you would like then your jar is finished. Or you can go on to Step 3**  


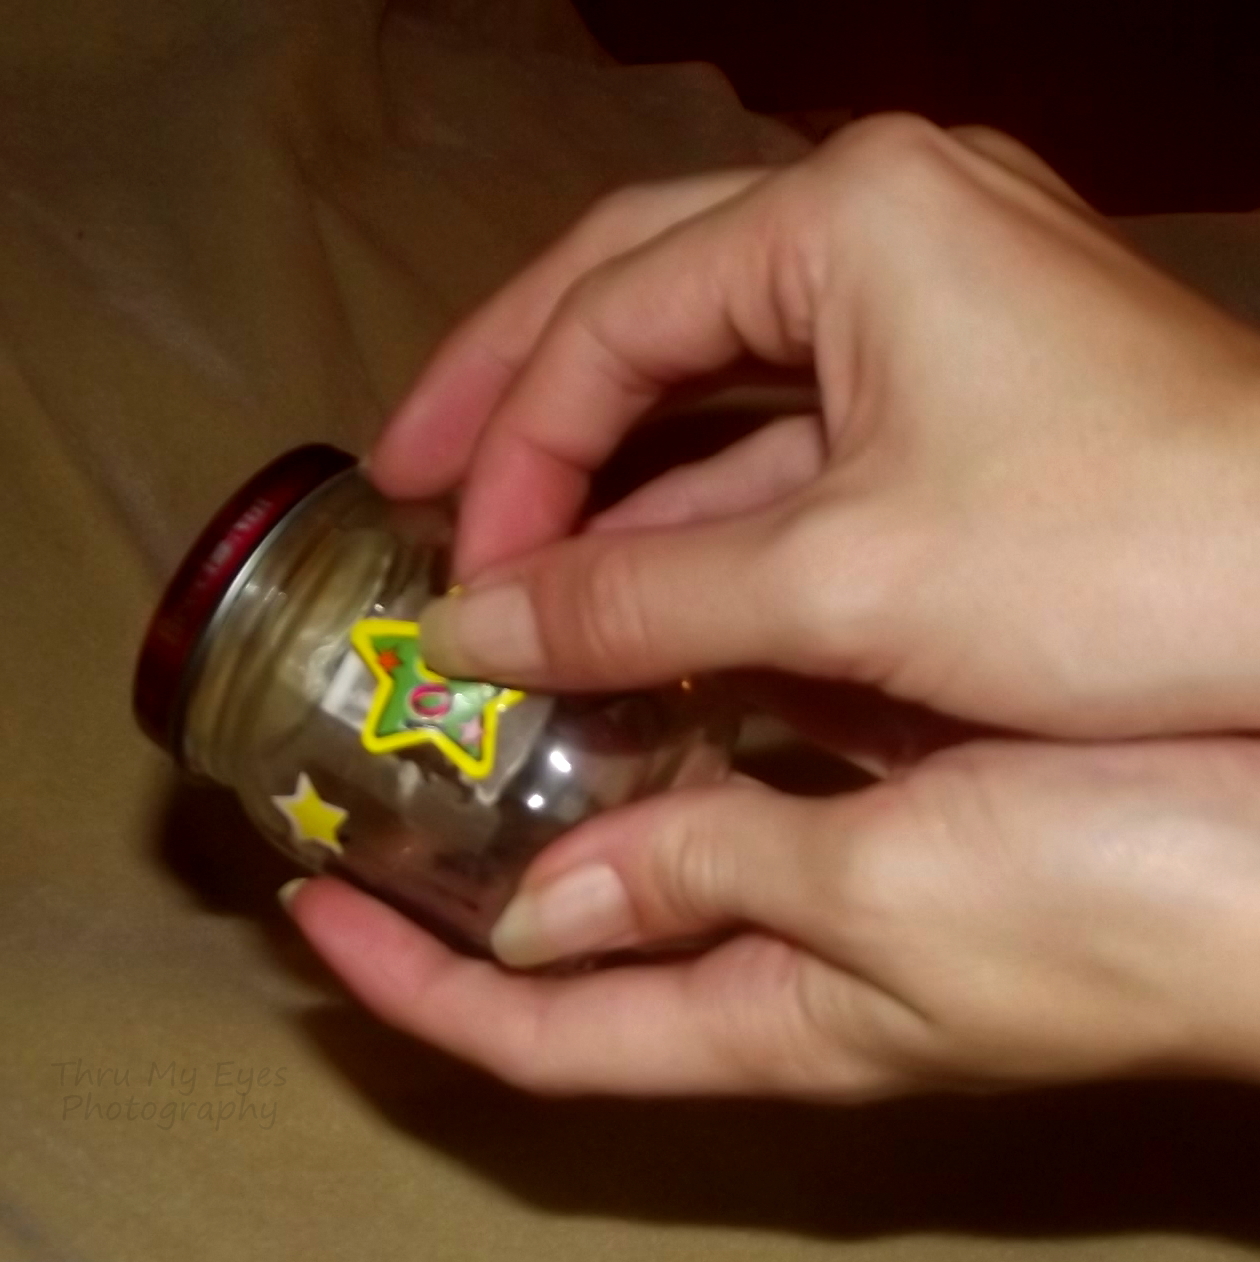
Step 3 -->  Write your name on your jar if you would like and decorate with stickers or draw fireflies with black and orange markers.


**Our Finished Lightning Bug Jars!!!!**

Wednesday, April 25, 2012

Bug Hotel

Bug Hotel

This simple, yet sturdy, insect observatory lets young entomologists check in guests, then check 'em out.

Materials
    Bug Hotel
  • Oatmeal container
  • Markers
  • Poster paints and brushes
  • Utility knife
  • Screen


Instructions
  1. Use markers or poster paint to decorate the outside of the oatmeal container, making sure you post the house rules!
  2. Paint or draw the shutters, then use a craft knife (adults only) to cut them out with sideways H shapes.
  3. Paint the door, then cut it out, making sure its bottom edge is at least 1/4 inch above the floor inside (to keep guests from checking out too early).
  4. Roll the screening so it rests snugly around the inside of the container. Trim so the top edge fits beneath the lid and leave a 1-inch overlap where the side edges meet.

Tips:
Be sure to provide guests with food (notice what they were eating when you found them) and water (a filled plastic bottle cap should meet their needs).

Mother's Day Flower Pot Craft

Mother's Day Flower Pot Craft


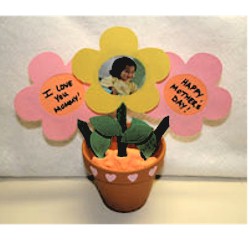
This fun craft is a great Mother's Day gift for Mom! She is sure to love this personalized flower pot with her favorite family pictures in it. Pick your favorite pictures for some of the flowers and write your own special message on the other flowers.


Supplies
3" Clay Pot
Clay
Colored Popsicle Sticks
Flower Template (click here)
Construction Paper (many colors)
Scissors
Glue
Scotch Tape
Pictures
Paint, Markers, Crayons, etc.


Click here for printables, patterns and Templates

InstructionsDecorate your clay pot however you would like! Put it aside to dry.

Print out the flower template provided above.

Cut out the template flowers, trace them onto construction paper and cut out the construction paper flowers.
Cut the center circle out of the template flower. Place onto construction paper flowers and trace around it. Carefully cut out the center circle in each of the construction paper flowers.

Tape pictures or sayings on the back of each flower so that they are visible through the hole.

Tape a popsicle stick to the bottom of each flower as the stem.

Cut leaves out of green construction paper and glue to each popsicle stick.
Fill the clay pot with clay. Stick the popsicle sticks into the clay to complete the craft!
This craft is reprinted courtesy of  freekidscrafts.com and AllKidsNetwork.com.