Wednesday, July 18, 2012

DIY Shrug Shirt

I found this DIY Shrug Shirt online and I'm so excited about getting some old T-Shirts and making these for me and both my little girls!!! I'll post pictures as soon as I make one!! If you make one PLZ post pictures so I can see them!! :0)


Step 11. Grab a Shirt


Step 22. Cut along the dotted line and cut off neck band.


Step 33. Turn shirt inside out and fold in 1 inch to form the casing


Step 44. Pin and Sew


.5. Pull the ribbon through the casing using a safety pin. Pull tight and tie.

Saturday, July 7, 2012

Mini Lightning Bug Jars


Outside Summer Fun
Whats more fun than running around outside on a summer night chasing lightning bugs?? Catching them and putting them in jars for safe keeping! Most of the time you would use one of the gallon mason jars... I have a new idea for you. How about Mini Lightning Bug Jars? Easy to hold in small hands and not likely to be dropped when running thru the yard. You can make them with as little as 2 to 4 (depending on if you want to decorate your jar or leave it clear) things that could be laying around your house right now!!! These can be made by the child, with your help with the knife, or you can make them for your kids yourself. The choice is yours!!!!!!


All you need is :
  • Baby Food Jars
  • Knife (Adult help/supervision is needed for putting the holes in the lid with knife.)
  • Permanent Markers *I used black and orange for stars and fireflies*(optional)
  • Stickers (optional)
Instructions :

Step 1 -->  Make sure the jars are clean and dry.

Step 2 -->  Get an adult to poke holes in the top of the lid so the lightening bugs can breath.
 
**If you would like then your jar is finished. Or you can go on to Step 3**  


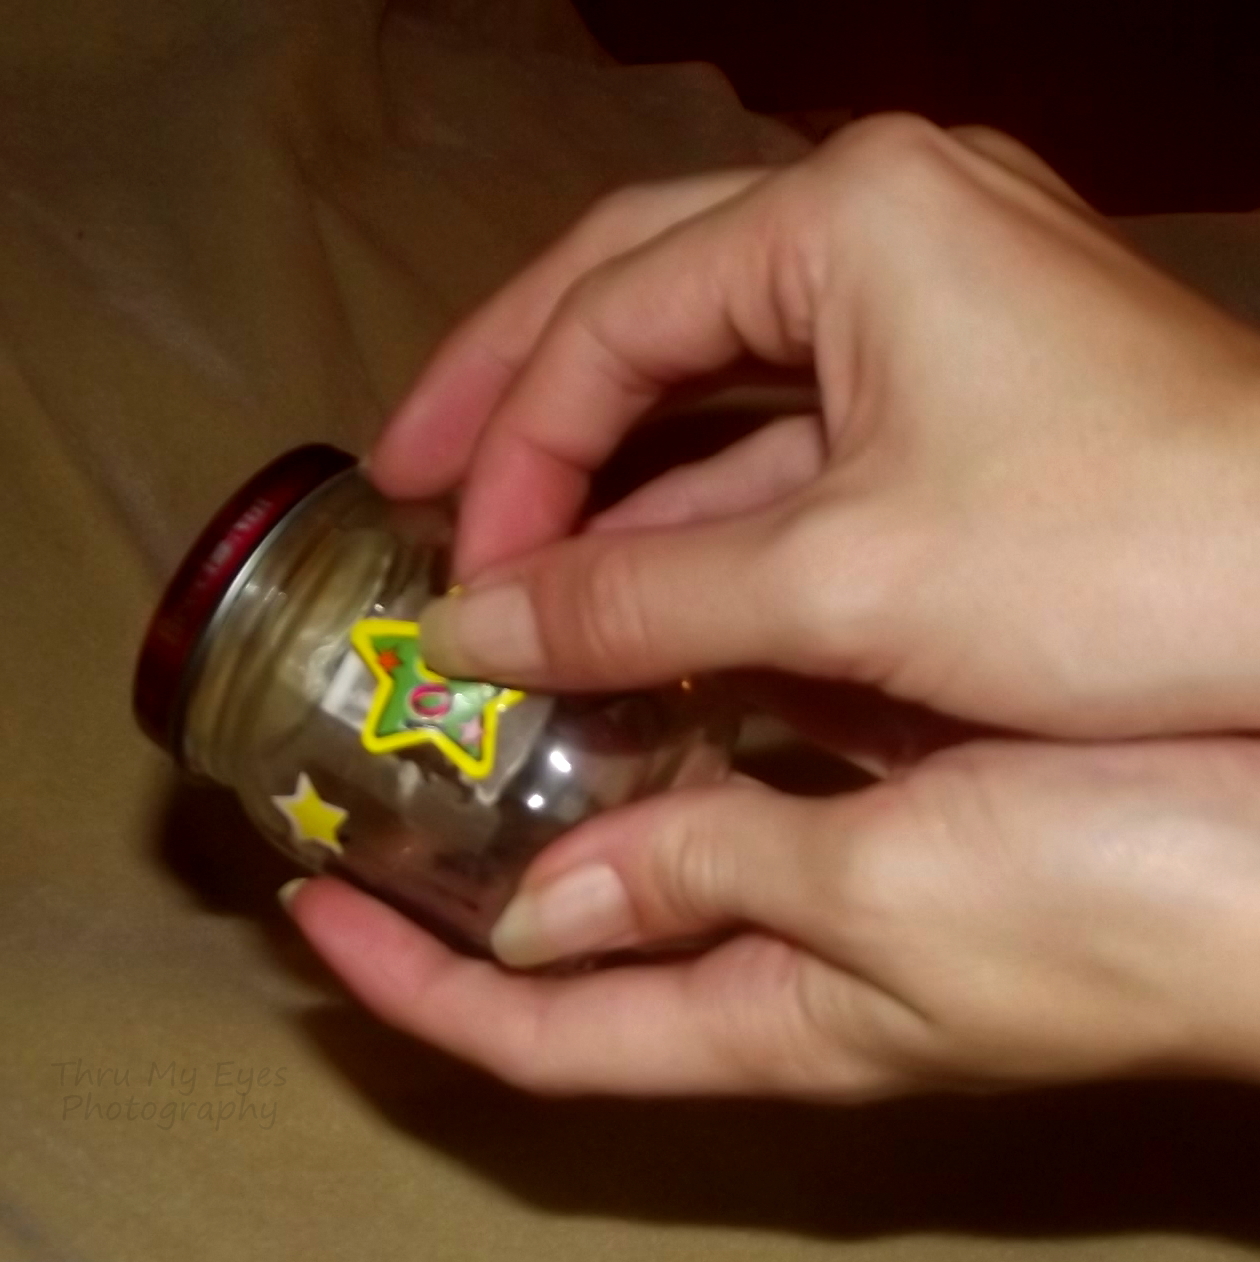
Step 3 -->  Write your name on your jar if you would like and decorate with stickers or draw fireflies with black and orange markers.


**Our Finished Lightning Bug Jars!!!!**

Friday, July 6, 2012

Rainy Day ~ Magnetic Fishing Game


Magnetic Fishing Game

Provide your kids with interactive amusement by constructing this magnetic fishing game with a few simple materials.
Make It: Help your child paint a square wooden dowel and wooden spool his favorite colors and allow to dry. Glue white string around the spool and adhere it near the bottom of the dowel. Attach a long string to the far end of the dowel and tie a magnet to the opposite end (magnetic barrels from the jewelry section of the craft store work well). Make clothespin "fish" by painting them fun colors with pink lips. Let paint dry and help your child glue on sequin scales and googly eyes. Now he'll be ready to go fishing!

Craft found at Parents.com

Sunday, July 1, 2012

Star-spangled Parfait

Star-spangled Parfait

Colorful layers of flavored gelatin and whipped cream give our light and tasty dessert its banner good looks.
For four servings, make one box each of red and blue gelatin according to the package directions. In tall, clear glasses, alternate layers of red gelatin and whipped topping (we used Cool Whip), as shown. Top with the blue gelatin. (For the fruity version on our cover, substitute raspberries and blueberries.) Finish with a slice of star fruit.

Recipe found at www.parents.com 

Outside Game ~ Rocket Toss

Rocket Toss

 Supplies:
6 ~ Empty, Clean Metal Cans (15oz Veggie cans work good)
Ribbon
Colored Duct Tape (optional, if you decide not to use the tape, then make sure all sharp edges are covered with something)
Dry Rice
3 Small Un-Mated socks
3 Rubber-bands or Hair ties

Partygoers will have a blast playing this classic carnival game made from recycled metal cans and homemade "rockets."
For the cans, adhere strips of red, white, and blue duct tape to six clean, empty 15-ounce metal cans, covering any sharp edges. For thinner lines, simply overlap the tape. To make the rockets, use a funnel to fill three small socks with rice (we used about 1/2 cup in each) and tie them off with a hair tie or a rubber band. Thread a 3-foot length of sheer ribbon through each tie and knot it in the center to secure it. To play, set up the cans in a pyramid. Standing several feet away, each player gets three tries to knock down all the cans with the rockets.

Craft Found at www.parents.com

4th Of July Noise Makers

 Noise Makers


Create simple quacking noisemakers, and the kids can be ready for the fireworks or parade.
First, cup two 1 1/4-inch lengths from a plastic drinking straw. Stretch a wide rubber band lengthwise around a jumbo craft stick. Slide one straw piece beneath the rubber band 1 1/4 inches from one end. Lay the other straw piece on top of the rubber band 1 1/4 inches from the opposite end, as shown, then sandwich it with another craft stick. Secure the sticks with more rubber bands. Decorate the noisemaker with stickers if you like.

Craft Found at www.parents.com